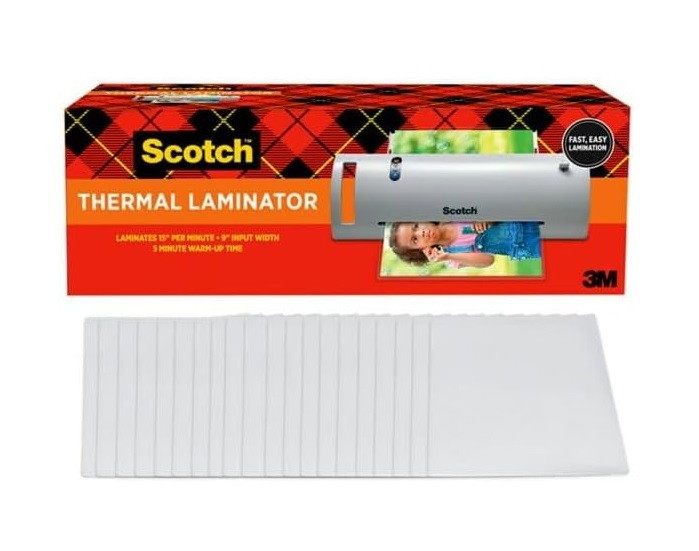
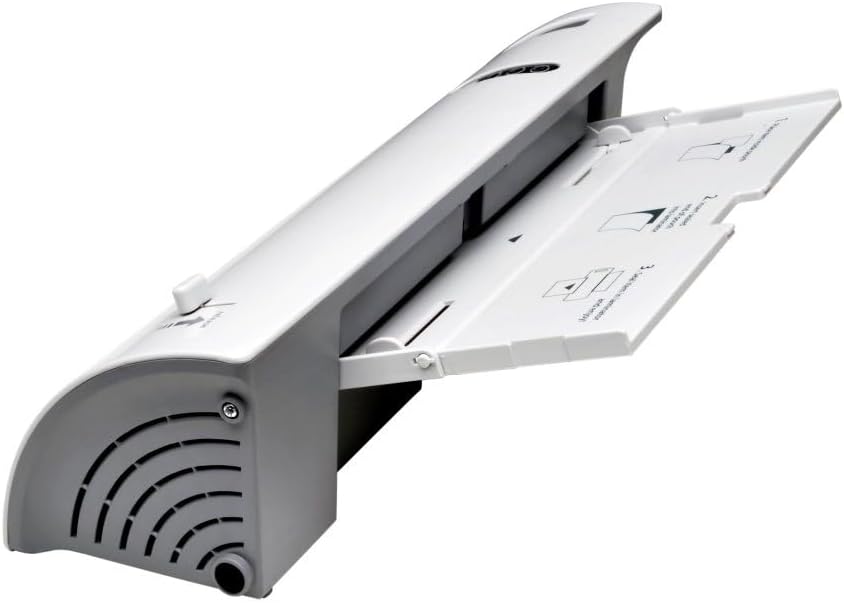
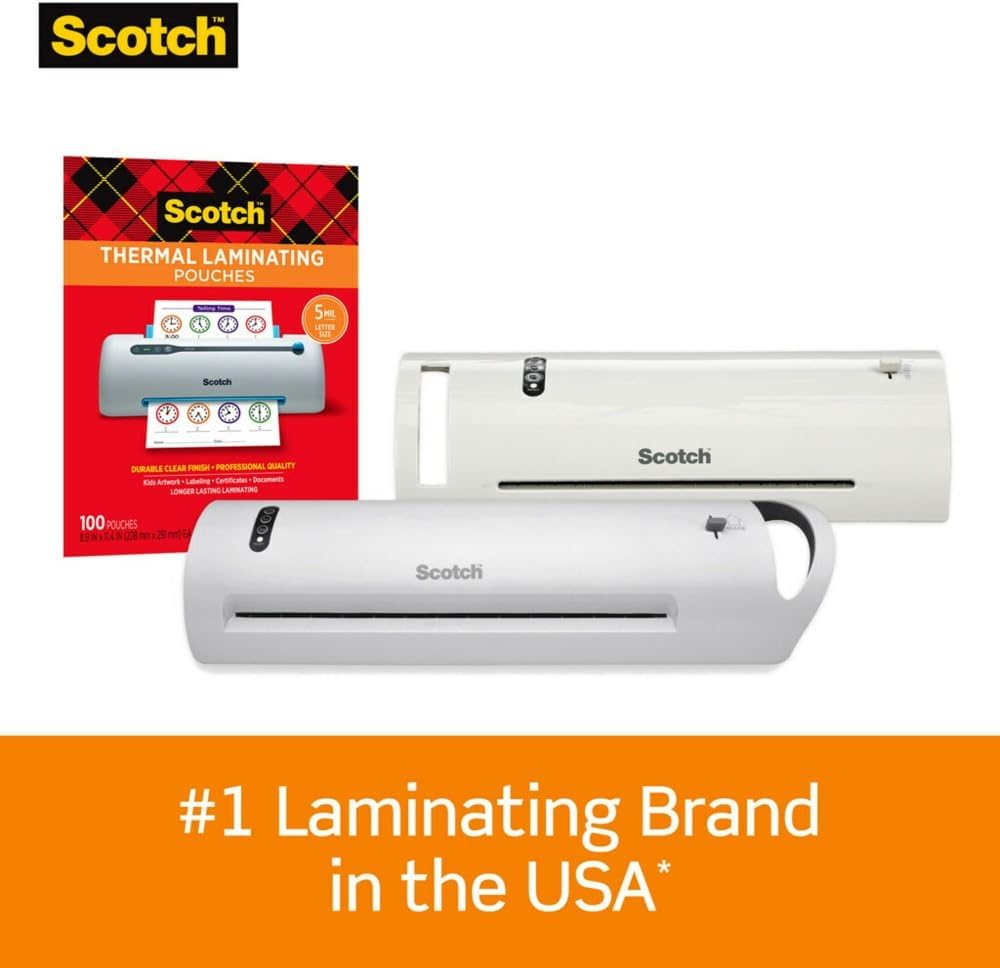
Scotch TL902VP Thermal Laminator For Sale Trinidad
Call for Availability


 Express Delivery
$695.00 TTD $731.25 TTD
Call for Availability
From the manufacturer

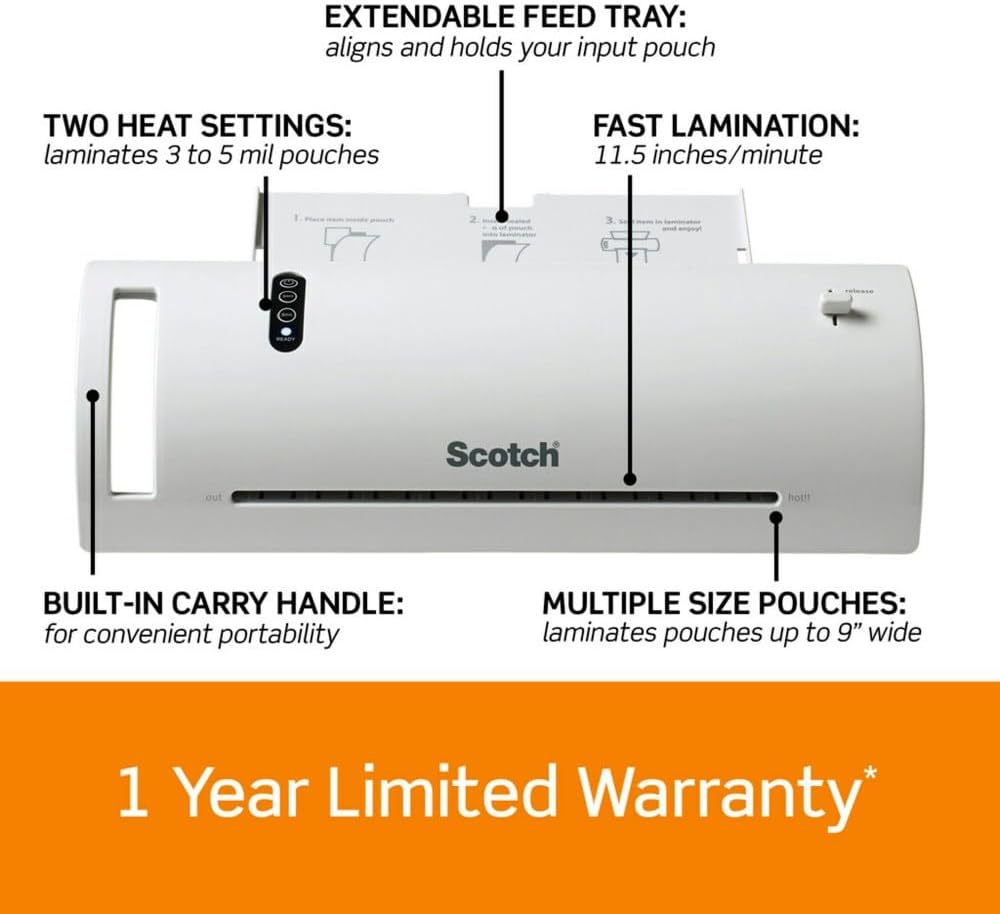
Protect. Preserve. Create.
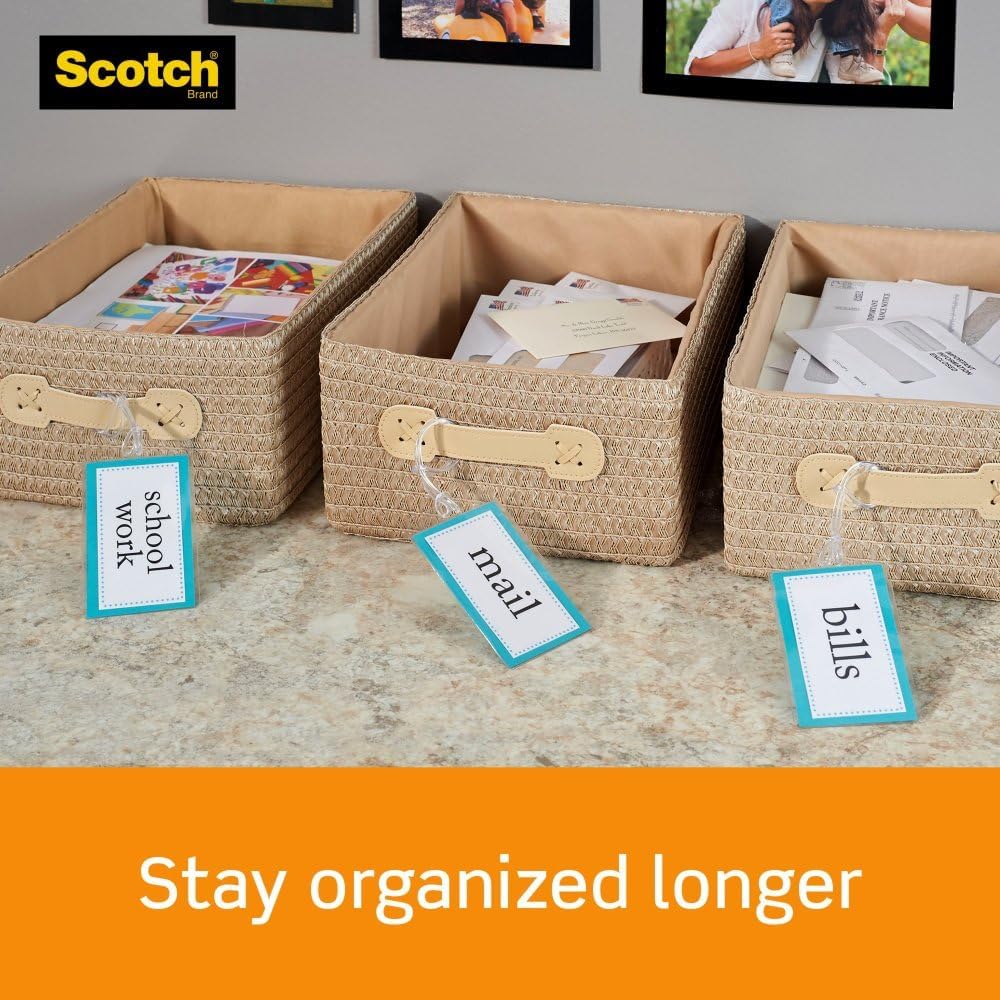
At home, at school, or at the office, Scotch Brand offers fast and easy to use laminating solutions.
Whether you are simply looking to reinforce documents, or making items tear and spill-proof, we have a laminating solution for you.
|
|
|
|
|---|---|---|
|
|
|
|
|
|---|---|---|---|
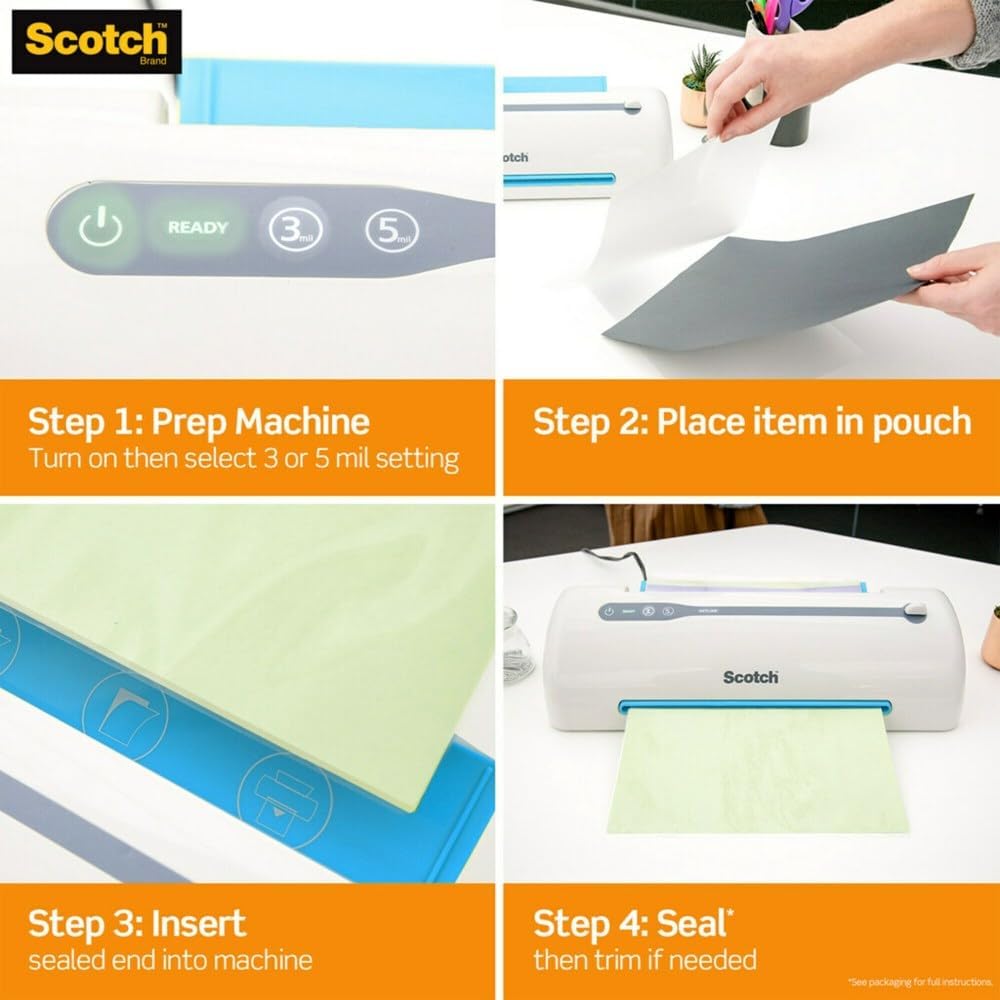
Step 1: PrepMake sure your machine is warm and ready to go.
|
Step 2: PlacePlace your project inside the laminating pouch.
|
Step 3: InsertPlace the Sealed End of the pouch into the machine, with the open end following behind.
|
Step 4: SealLet the laminator do its thing!
Helpful tip: Cut/trim pouches only after feeding through the machine |
Related products
-
Laminator
Amazon Basics 12-Inch Thermal Laminator Machine, For Home Office or School, White For Sale Trinidad
 Laminator
Amazon Basics 12-Inch Thermal Laminator Machine, For Home Office or School, White For Sale Trinidad
0 out of 5(0)Versatile Size: Laminates documents up to 12 inches wide, perfect for legal and letter-sized paper, photos, and more.
Complete Set: Includes (1) 12-inch white laminator and (20) laminating pouches (3-mil thickness) in assorted sizes.
Compatible: Works with both 3 mil and 5 mil laminating pouches for different thickness needs.
2 Heat Settings:
- 3 mil: Ideal for photos, card stock, and regular documents.
- 5 mil: Great for thinner papers.
Quick Warm-Up: Ready in 3-5 minutes with a helpful indicator light—start only after the warm-up!
Jam Release Lever: Easily clear any paper jams for smooth operation.
Compact Design: Measures approximately 17.9 x 4.4 x 2.6 inches (L x W x H).
Important: Read the User Manual thoroughly before first use for best results.
Material Restrictions: Not suitable for laminating hardware, cloth, wood, foam, foil, or plastic sheets.
- UPC Code: 840095884211
Paper Compatibility:
- 3 mil: 50-160g paper thickness
- 5 mil: 50-100g paper thickness
Perfect for offices, schools, or home projects!
UPC Code: 840095869638
SKU: n/a -
Laminator
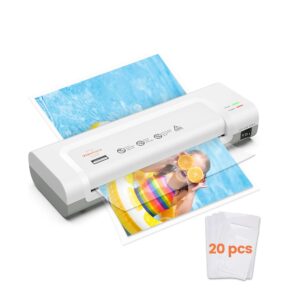
Laminator Machine,VidaTeco 9-inch Thermal Laminator with Laminating Sheets 20 pcs,Laminating Machine with 2-Min Faster Preheat For Sale Trinidad
 Laminator
Laminator Machine,VidaTeco 9-inch Thermal Laminator with Laminating Sheets 20 pcs,Laminating Machine with 2-Min Faster Preheat For Sale Trinidad
0 out of 5(0)Fast Warm-Up: Heats up in just 2 minutes and laminates at 11 inches per minute, making your work quick and efficient.
Fully Lamination: One-Step Tech prevents bubbles and wrinkles, works with 3-mil to 5-mil thickness, and laminates up to A4 size.
No Jam Worry: Jammed sheets can be easily fixed using the release lever; includes cleaning sheets to extend the laminator’s life.
HOT & COLD Modes: Thermal mode for laminating documents, photos, and cards, and cold mode for heat-sensitive items like precious photos.
Bonus: Comes with 20 laminating sheets (A4, A5, A6, and Card size) to meet various laminating needs.
- UPC Code: X003149XQF
SKU: n/a -
Laminator
Amazon Basics 9-Inch Thermal Laminator Machine For Sale Trinidad
0 out of 5(0)- Thermal laminator for laminating documents up to 9 inches wide;accommodates legal and letter sized paper, photos, and more
- Includes (1) 9-inch laminator machine, (2) 3-mil 8.9 x 11.4 inch laminating pouches,
- Compatible with any 3 mil or 5 mil laminating pouch (mil refers to thickness of lamination film)
- 2 heat settings: 3 mil (best for normal documents, photos, and card stock) and 5 mil (best for thinner papers)
- Quick 3-5 minute warm up with ready indicator light; do not attempt to use before warm up is complete
- Jam release lever for easily clearing paper jams
- UPC 840095884204 asin B09RBHPLB7
SKU: n/a -
Laminator
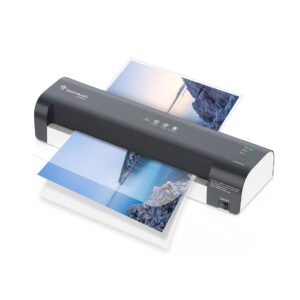
Bonsaii 13 Inch Laminator Machine with Never Jam Technology, Laminator Machine 11×17 Inch with Laminating Sheets, Laminating Machine for Home, Office, and Classroom Organization Supplies For Sale Trinidad
 Laminator
Bonsaii 13 Inch Laminator Machine with Never Jam Technology, Laminator Machine 11×17 Inch with Laminating Sheets, Laminating Machine for Home, Office, and Classroom Organization Supplies For Sale Trinidad
0 out of 5(0)Laminator Machine 11×17 For Sale Trinidad
Protect & Preserve Your Documents with Ease!
NTC Temperature Control System – Ensures continuous, stable temperature for efficient lamination
13-inch Closure – Perfect for home, office, and personal DIY projects
Easy to Use – Simple 4-step process for smooth laminating
Versatile Applications – Great for photos, documents, menus, certificates & more
Thermal Laminator – Provides superior protection against water, dirt, and wear
UPC Code: X004A7I5NT
SKU: X004A7I5NT


